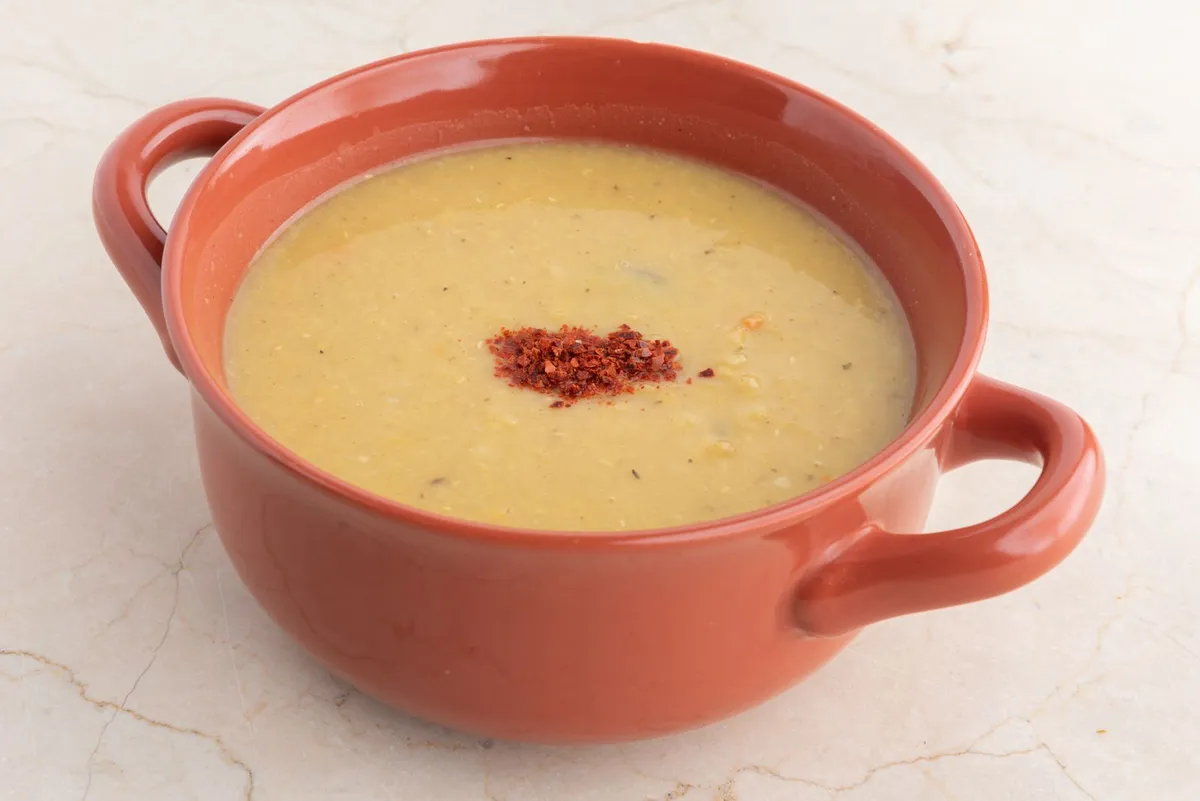
A guest opens your menu and sees a list of names. "Bouyiourdi", "hunkar begendi", "seafood orzo". They do not know what will reach the table, so they order something familiar.
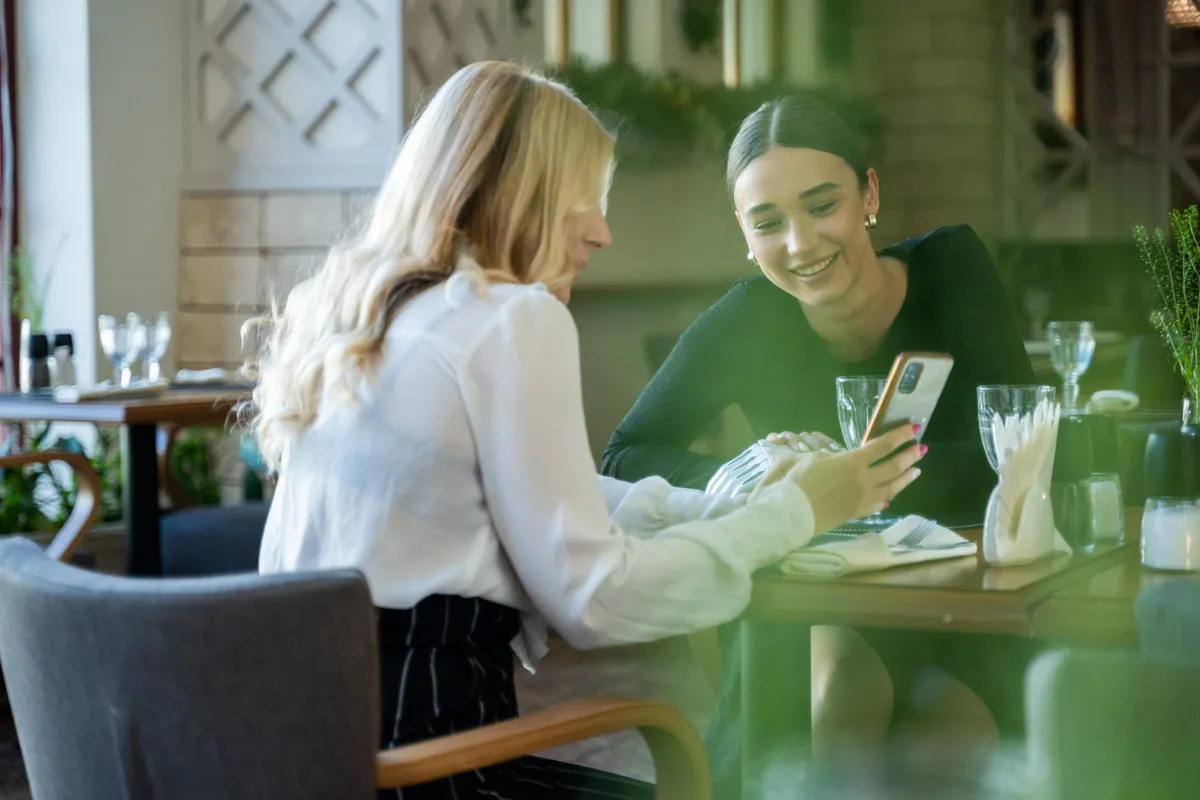
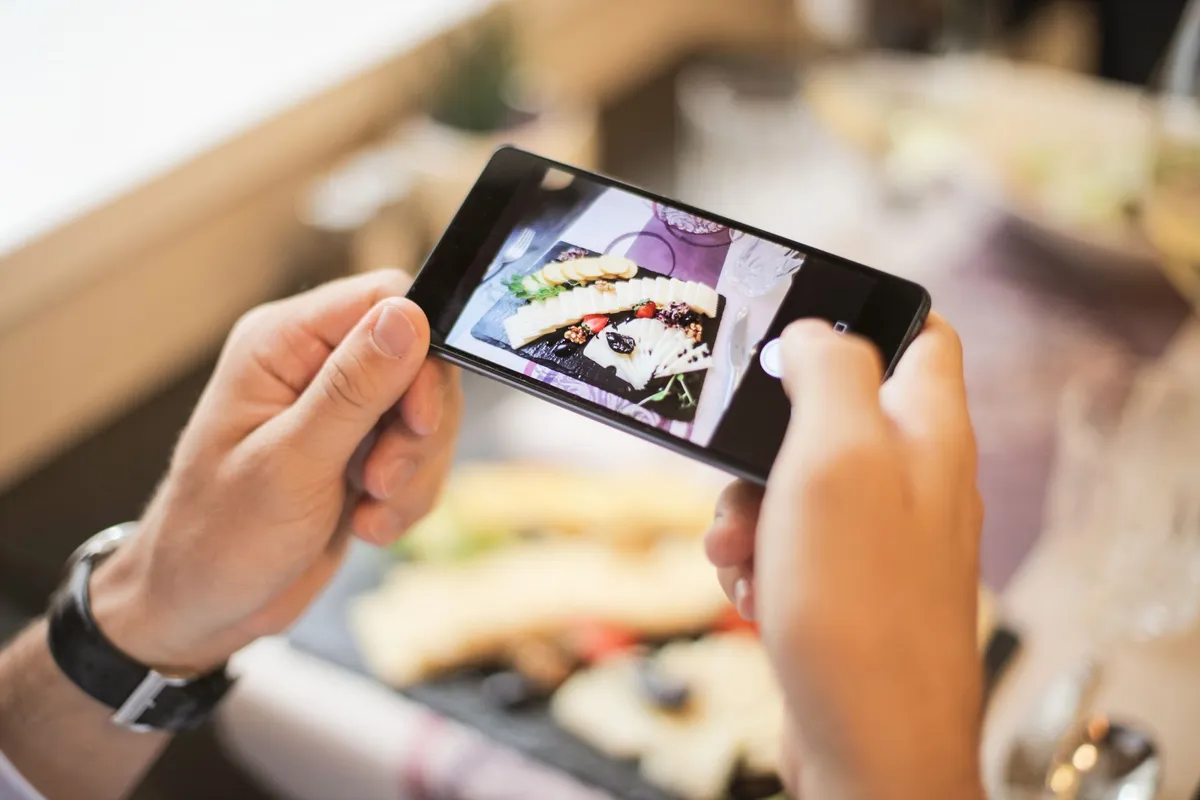
Food photos for your menu solve this problem. And you do not need a photographer or a studio. You need your phone, a window and 7 simple tricks. They work best on a digital QR menu, where every photo shows clearly on any phone.
What you lose when your menu has no photos
Without a picture, your special dishes stay in the kitchen. Guests do not gamble on something they do not understand. They pick the salad they know and leave without tasting your cooking.
The data shows how much this matters. DoorDash measured restaurants on its platform. Menus with item photos saw up to 44% more monthly sales. That is a delivery platform and an upper limit, not a guarantee. But the trend is clear: guests order what they can see.
1. Shoot in daylight, next to a window
Light does most of the work. The yellow kitchen light and the flash make food look greasy and tired.
Put the plate on a table next to a window, at midday or in the afternoon. The light should come from the side, not from behind you. If direct sun falls on it, pull a white curtain to soften it.
Turn off the flash. Take your photos before opening, when the room is quiet and the light is steady.
2. Pick the right angle for each dish
Every dish has its angle. Pizza, salads, meze platters and dishes with many ingredients look best from straight above.
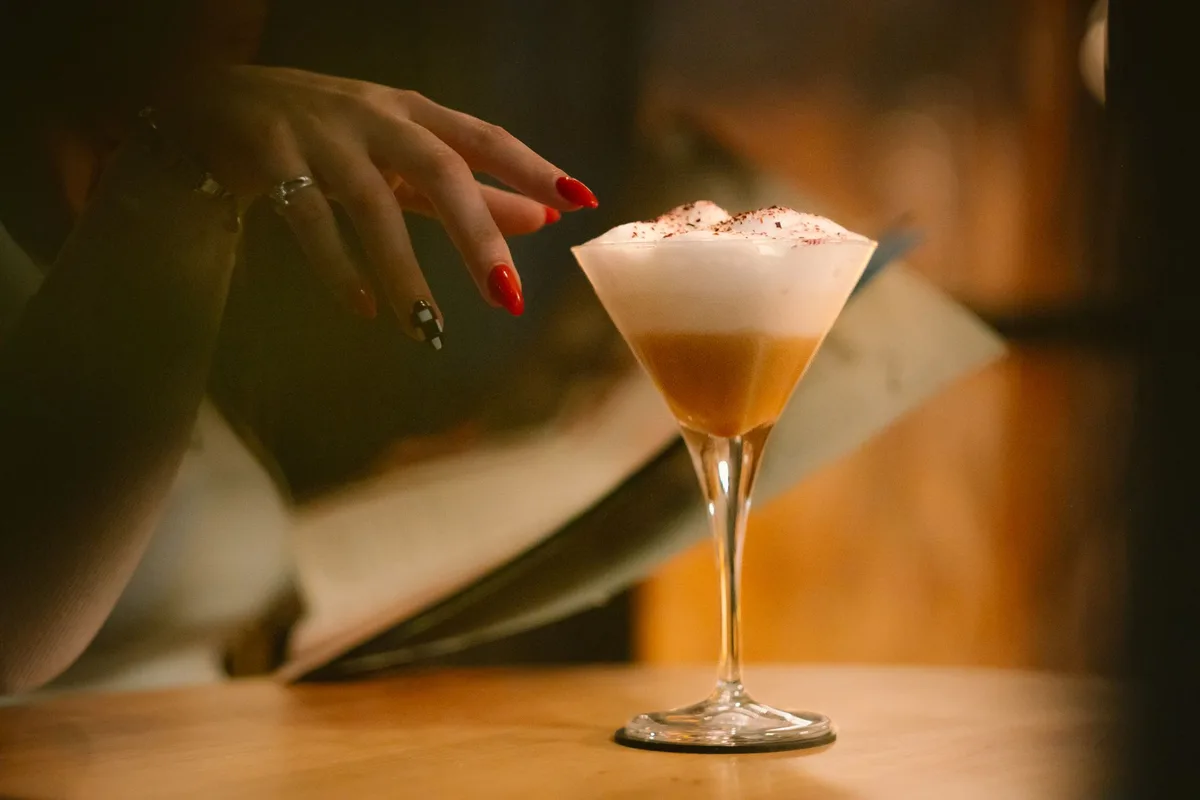
Burgers, souvlaki, desserts and anything with height need a side angle, around 45 degrees. Drinks and cocktails need the phone at glass height.
Take two or three shots from different angles and keep the best one. It costs nothing.
3. Clean up the frame
Guests need to see the dish, not the salt and pepper, the napkin and the air conditioner remote.
Remove anything that is not food. Keep at most one item that adds atmosphere, such as a fork or a glass of wine. Turn on the grid in your camera and place the dish on its lines, using the rule of thirds.
Before you shoot, wipe the rim of the plate. A drop of sauce on the edge looks huge on screen.
4. Shoot the dish exactly as you serve it
A photo is a promise. If it shows a double portion and a half one arrives, the guest feels cheated. And they write it on Google.
Plate the dish exactly as it leaves the kitchen. Same portion, same plate, same garnish. Ask your cook to plate it as on a good day, not a special one.
5. Start with the dishes you want to sell
Not every item needs a photo. Greek coffee and water do not need a picture.
Start with 8 to 10 dishes: your specialties, the dishes with the best margin and the ones with unfamiliar names. If you do not know which ones earn the most, first see the 7 steps to proper dish costing.
A photo draws the eye. Put it where you want the order to go.
6. Keep one style across the whole menu
Ten photos with ten different backgrounds look careless. A menu with one consistent style looks like a venue that cares.
Pick one table and one background, for example the wood of your dining room. Shoot every dish there, at the same time of day. Keep the same angle within each category.
If you edit, make the same edit on all of them: a little brightness, a little warmth. Avoid heavy filters, food should look like food.
7. Add a description that whets the appetite
The photo catches the eye, the description closes the decision. In the same DoorDash figures, menus with item descriptions saw up to 18% more monthly sales.
Write one or two short lines: what is in it, how it is cooked, where it comes from. "Pork slow-cooked for 6 hours, with celeriac purée" says far more than "pork".
Refresh your photos when a dish changes. A winter menu brings new dishes, so it needs new shots too.
Why food photos get lost in a PDF or in print
On a PDF menu the photo is small and guests zoom in to see it. The file is often heavy and slow to open. We explain it in detail in QR menu vs PDF menu.
In print, colour photos push up the printing cost. And every new dish means a new print run. That is why most printed menus have no photos at all.
On a real digital menu the photo opens large with one tap. You upload it from your phone and it shows straight away, with no designer and no printer. See also the 7 rules for a menu experience guests love.
What Loudlink does not do
To be honest: Loudlink does not photograph your dishes or cook for you. It does not take orders, reservations or payments either.
It does one thing and does it well: it shows your menu, with its photos, properly on every phone. Venues like Big Nick, Lesvion and Captain John already do exactly that.
What a menu with photos costs
Start with the old way. A batch of printed menus comes to roughly 155 € per cycle. We measured it in how much a digital menu costs in 2026. With colour photos it goes up, and every new dish opens the bill again.
At Loudlink product photos are included in Basic, not an extra charge. Basic costs 9 € per month billed annually, that is 108 € a year. That is about 2 € a week, the price of one iced coffee. You upload and change photos as often as you like.
See the full plans and pricing.
Frequently asked questions about food photos on your menu
Four questions we often hear from owners:
- Do I need a professional photographer? No. A modern phone, daylight and a clean frame are enough for a digital menu.
- How many photos do I need? Start with 8 to 10, on your specialties and the dishes you most want to sell.
- Can I change a photo later? Yes, from your phone, as often as you like, at no extra cost.
- Which plan includes photos? Basic and above. The free 14-day trial, with no credit card, shows you how the menu is set up before you decide.
The bottom line
Food photos for your menu do not need a studio. They need window light, the right angle, a clean frame and honesty. Start with 8 dishes this week and see which ones start to sell.
Want to see how your menu comes together? Start a free 14-day trial, with no credit card and no commitment. In a few minutes your menu is live, and with Basic you add photos of your dishes today.