
Welcome to the admin panel
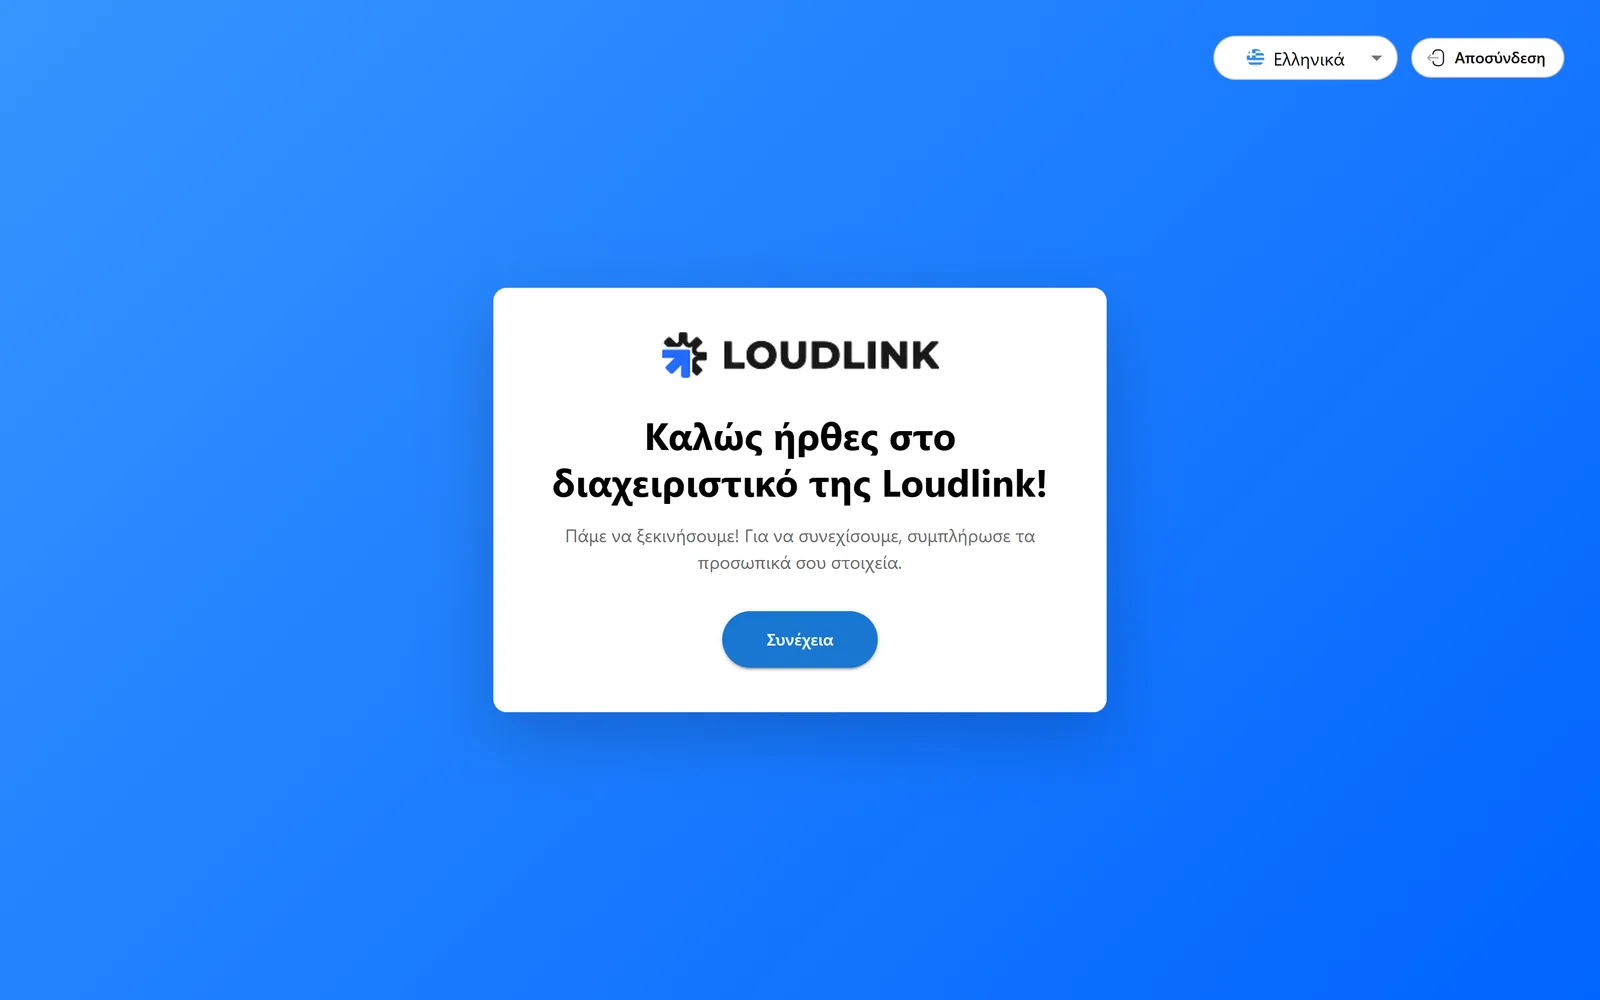
On your first login a welcome message greets you and invites you to get started.
The setup wizard has 5 steps. You finish them in minutes and you can change everything later.
The store details form
In the first wizard step you define your store identity.
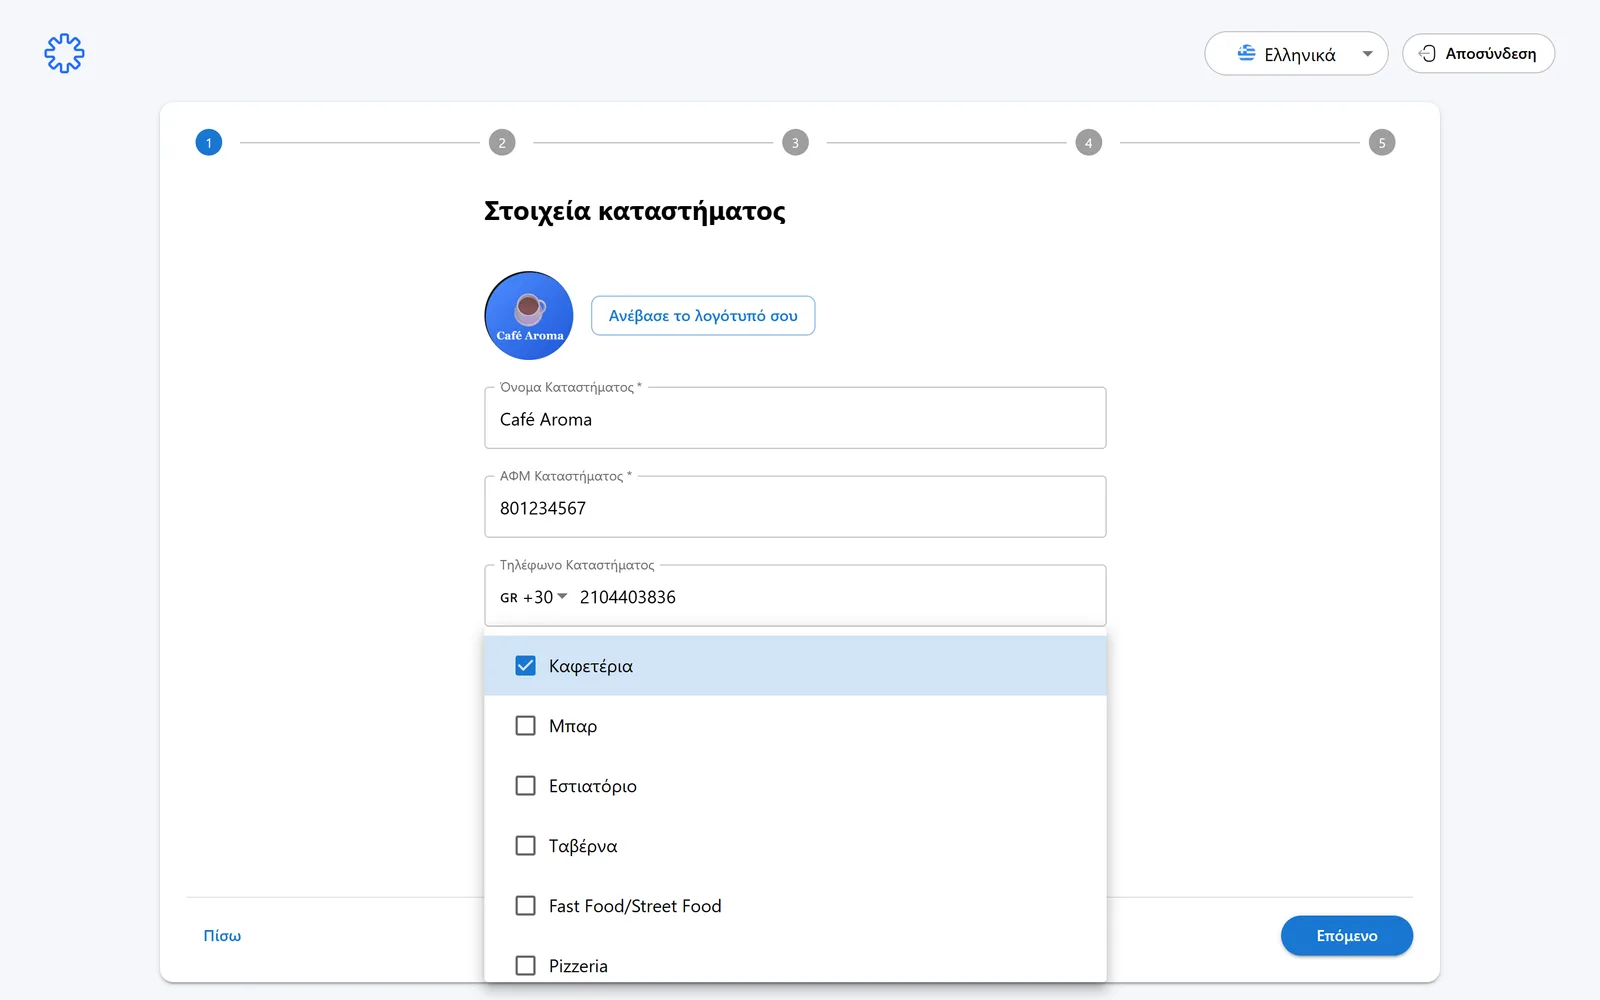
- Click the logo upload button to add your store logo.
- Fill in the store name. It is a required field.
- Fill in the store VAT number. Also required.
- Add the store phone number.
- Enter the store email. It is the public contact email, not your login email.
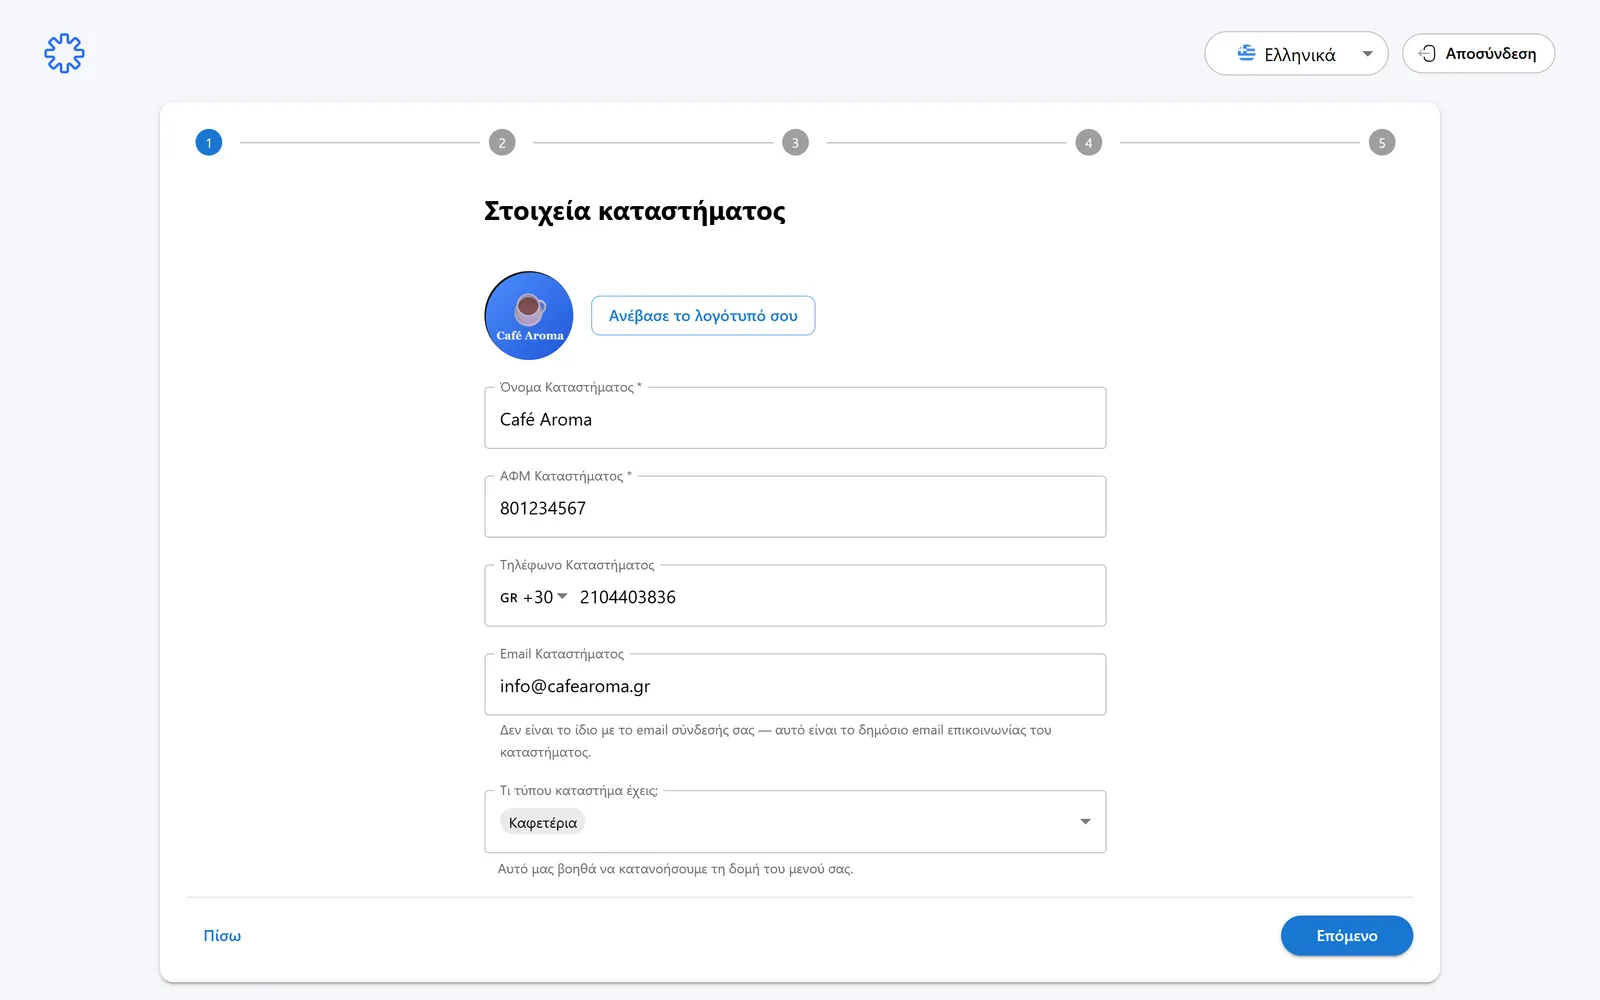
What type of store do you have?
Pick the type that fits your business, for example coffee shop, bar, restaurant, tavern, fast food or pizzeria.
The choice helps Loudlink suggest the right starter content for your menu.
Starter products
At the end of the step you are asked whether we can add some basic products based on your store type.
- With “Yes”, the menu fills with ready made categories and products, e.g. Coffee and Water.
- With “No”, you start with an empty menu and add everything yourself.
Tip
Pick “Yes” if you are in a hurry. Everything added can be edited or deleted later.
Tip
Click “Next” to continue to languages and socials.
Need help?
If something does not work out, do not waste time. Our team replies fast to every question.